Monday, October 27, 2008

Nadleeh! -1/144 Nadleeh ver. 1-


So pretty much, the reason I like Virtue, is b/c of Nadleeh -although this unit is very useless towards the end... As you will see, the model kit is rather flexable... Applied smearing to show weathering, rather than put white paint on white plastic.

more pics...


review>
Very slender, very clean, very poseable. This kit is good practice for those who want to built up their modeling skills. As well, this model shows that HG kits are getting better. Very happy with Bandai on this... A must get for those who want a fun unit to play around with. (It can do the splits...)

Time completed: roughly 4 days (2 days worth of continuous work applied)
Overall Grade: A

no fun pics...

Destroying The Target! -1/144 Virtue ver. 1-


You know, in the beginning of 00, I REALLY HATED VIRTUE. Too fat, I said. Boy was I wrong... When I bought this kit, I thought, meh, I'll give it a shot, and it turns out to be one of my favorite 00 kits. Eventually I switched sides from hated the unit to absolutely LOVING it.

More pics:
>


review>
GET IT! No, I swear to god, get it! If you can put a bit more time than what I have, you can EASILY try to mod it so it goes on to HG Nadleeh. As you can see, with an action base stand, you can pose it very well. The only thing I have against it, is the fact that when I use my GN Bazooka at full burst mode, the top flap sorta slops... Maybe too much sanding and what not...
Time completed: roughly 1 to 2 weeks (with about 3 days of continuous work applied)
Overall Grade: A-

For Fun:
Playing a bit with shadows...

Let's Lock and Roll! -1/144 Dynames ver. 1-


So this is one of the build I completed a while back, that I should have updated live, but didn't. Regardless, HG00, which means it is a 1/144 scale model of the widely popular GN-002 Gundam Dynames, piloted by our favorite (not mine, though) Lockon Stratos.

More pics...


review>
Not a bad 1/144 kit. The one thing that PISSES me off on this model is the fact that they didn't add the GN Pistols to it, while later releasing the GN Arms-Type D model, with Dynames carrying the GN Pistols. WHAT THE HELL. Good job Bandai, you are trying to milk my money... Other than that, didn't realize how rigid the shield looks... Could be made better....

Time completed: roughly 3 months (2 to 3 days worth of continuous work applied)
Overall Grade: B+

For fun shots>
Come to the Dynames fan club....


Look ma! I'ma Tieren! heavily armored, Monoeye... Yea, I pass as one!


Kikoeru ka~! kono ore no koega! Kanjiruka~! (King Gainer ED)

PS: DON'T mention the panel line...

PSS: Ver. 1 represents that I am willing to buy another kit in the future and completely revamp and supersede this work (and conveniently, I am about to by GN Arms Type D. I am such a sucker...)

Enjoy...

Sunday, October 5, 2008

switching...

I am switching my picture holding media, from Flickr to Photobucket, what I am used to. I like how Flickr, you can upload any size you want, and they will automatically give you the option to view it in different sizes (while Photobucket mandates that you have to choose a size to begin with).

However, the fact that I have to pay to get more "sets" are rather annoying, and being a cheap bastard, I will not partake in this... At least in photobucket, they gave me album options to sort and organize your media.

so yea, changing... will update some time later regarding the two builds I finished over the 10 days of building, Dynames and Nadleeh. Also, GN Arms is not finished, due to not having time, and thinking of a new color scheme...

Saturday, September 20, 2008

Progress and Damage Report; ver. Dynames

So I bought HG 1/144 Dynames from my local hobby shop quite some time ago, and did not have time to finish. Taking this time, I thought it would be better if I could finish this model first before any other...

What I had completed:
Wip2-Dynames2
Wip1-Dynames

And now, the damage report:
Progress-Damage Report1

1 pizza
7 cans of 7Up
roughly 2 todays


And to think, I still have more to finish...

Bonus:
Anyone want Green Tea?
mmm, green tea?

Thursday, September 18, 2008

The Armed Intervention Begins...

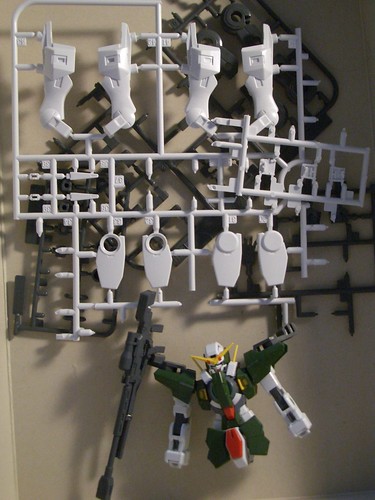
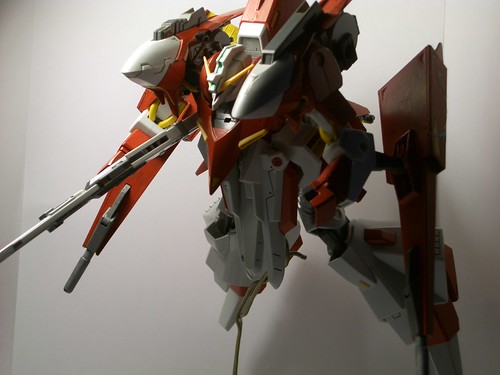
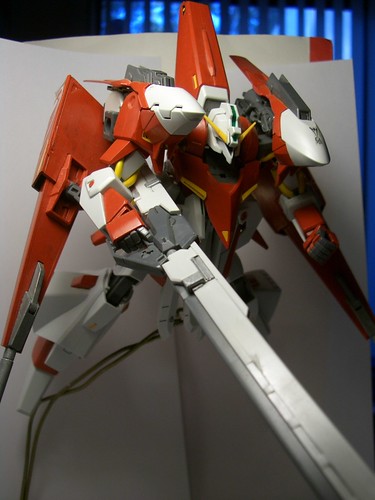
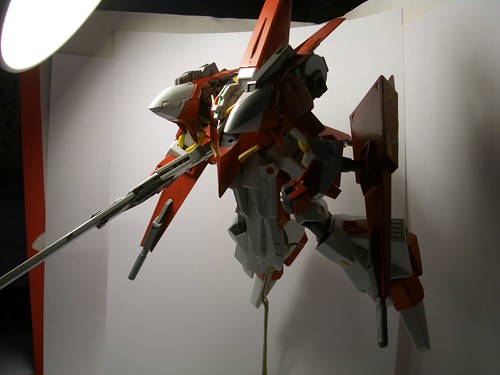
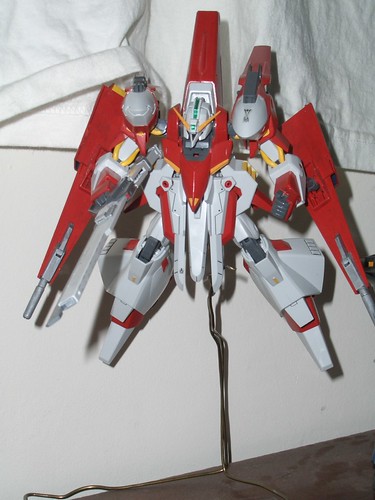
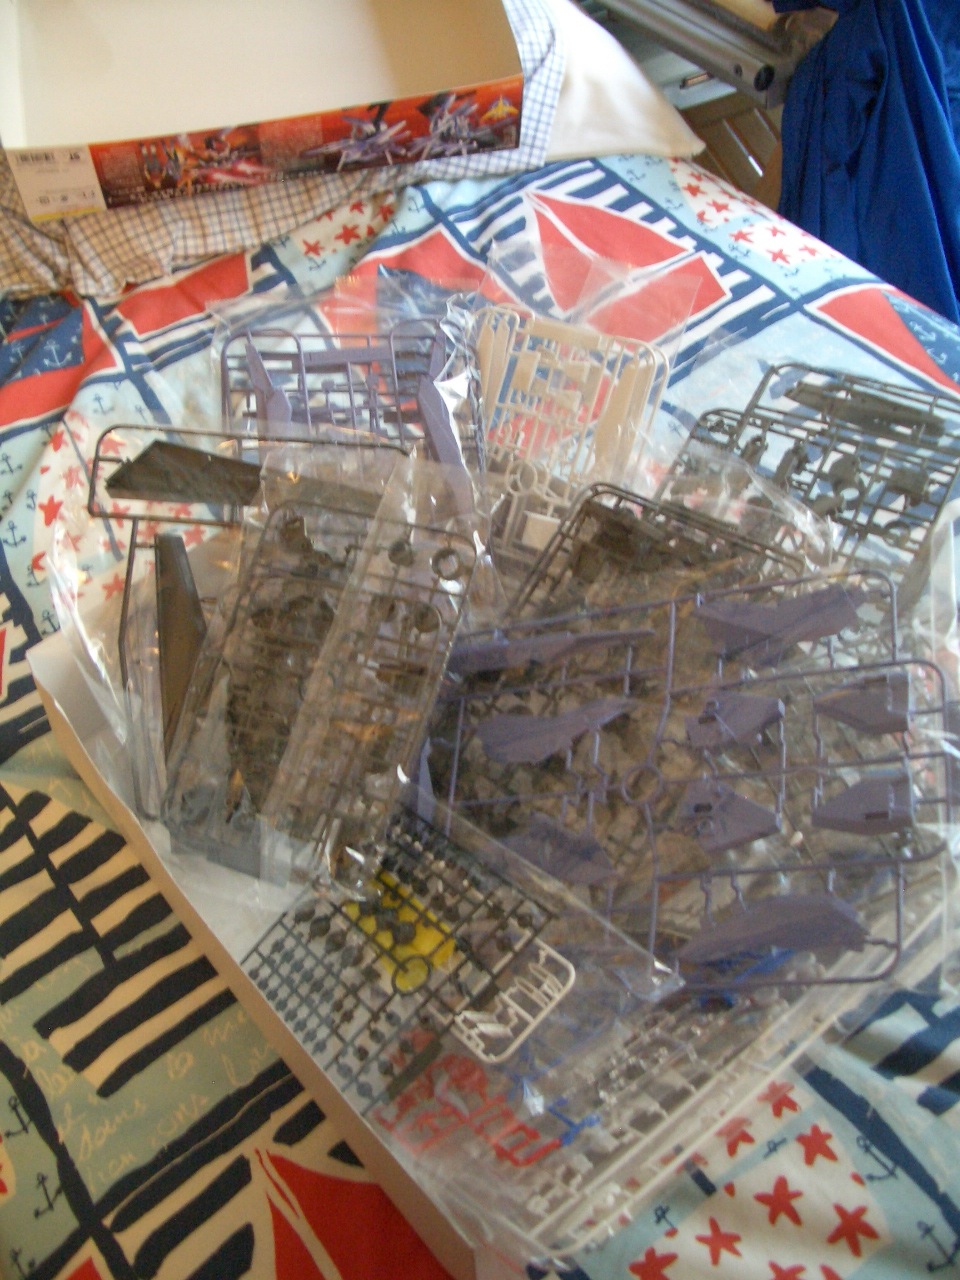
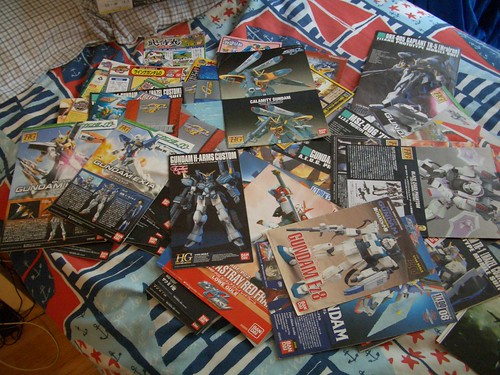
Essentially, I have about a week or so to complete stuff... So here I go...

Beginning an Armed Intervention...

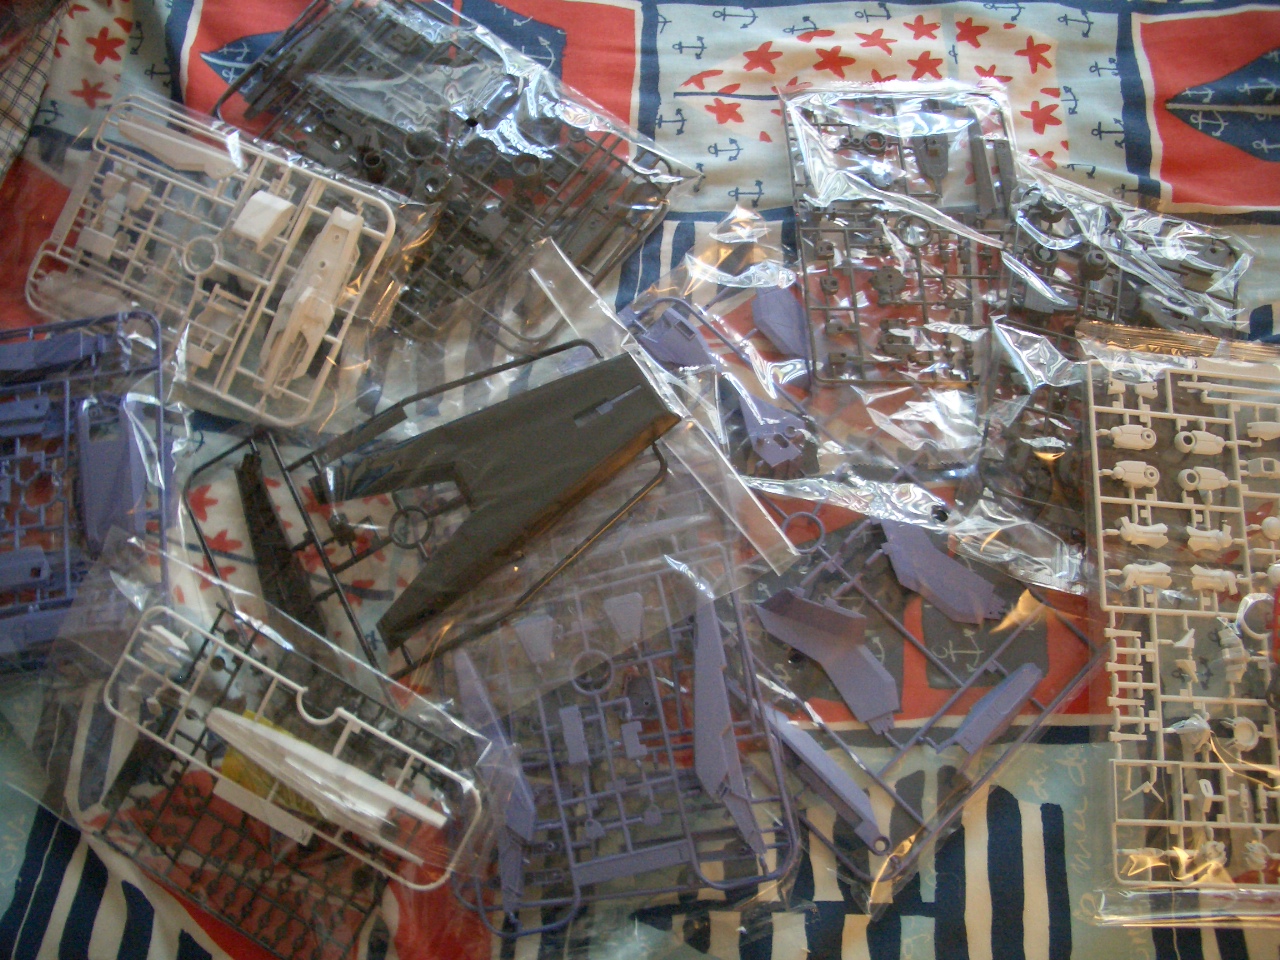
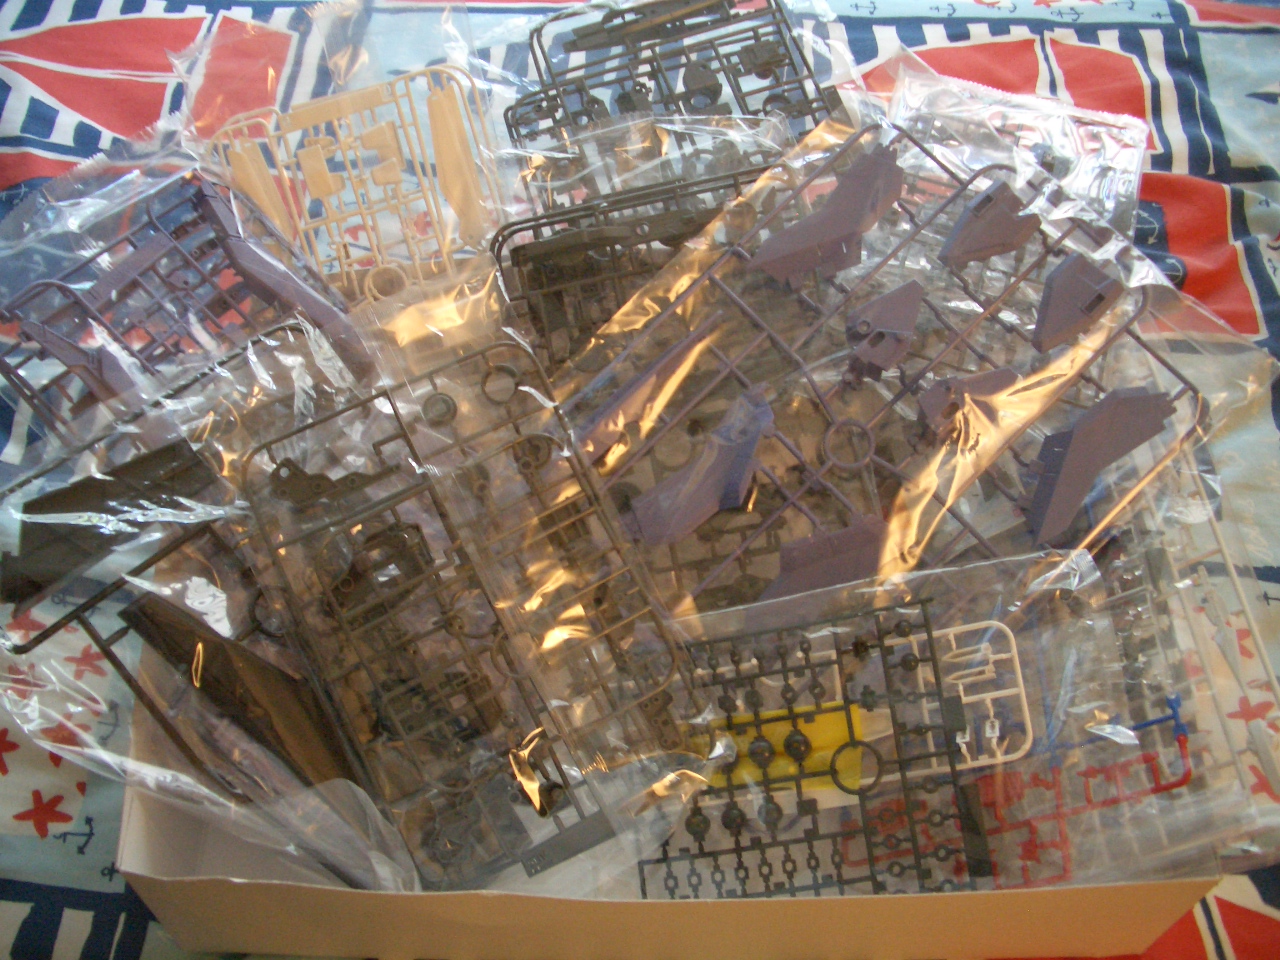
What's not shown above:
-1 Astraea Conversion kit, thanks to Dengeki Hobby
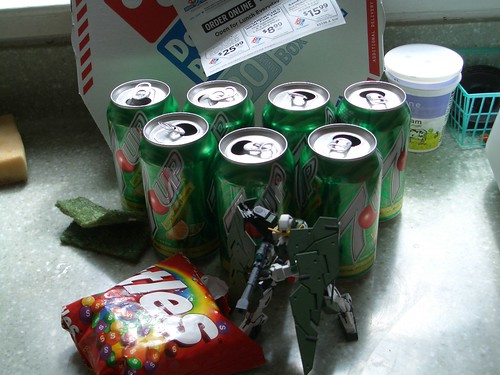
-+22 more cans of 7Up
-pizza

Tools of Intervention
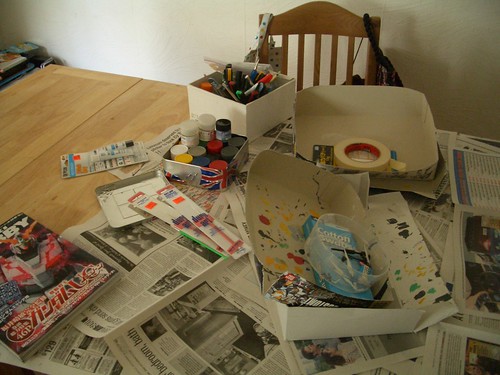
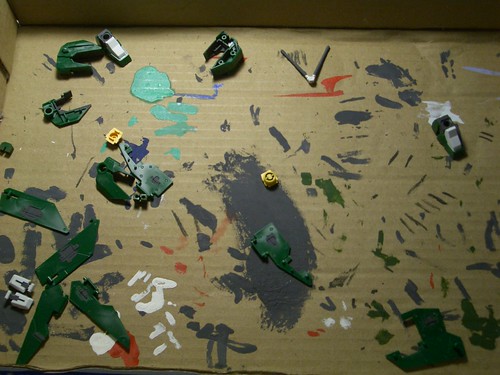
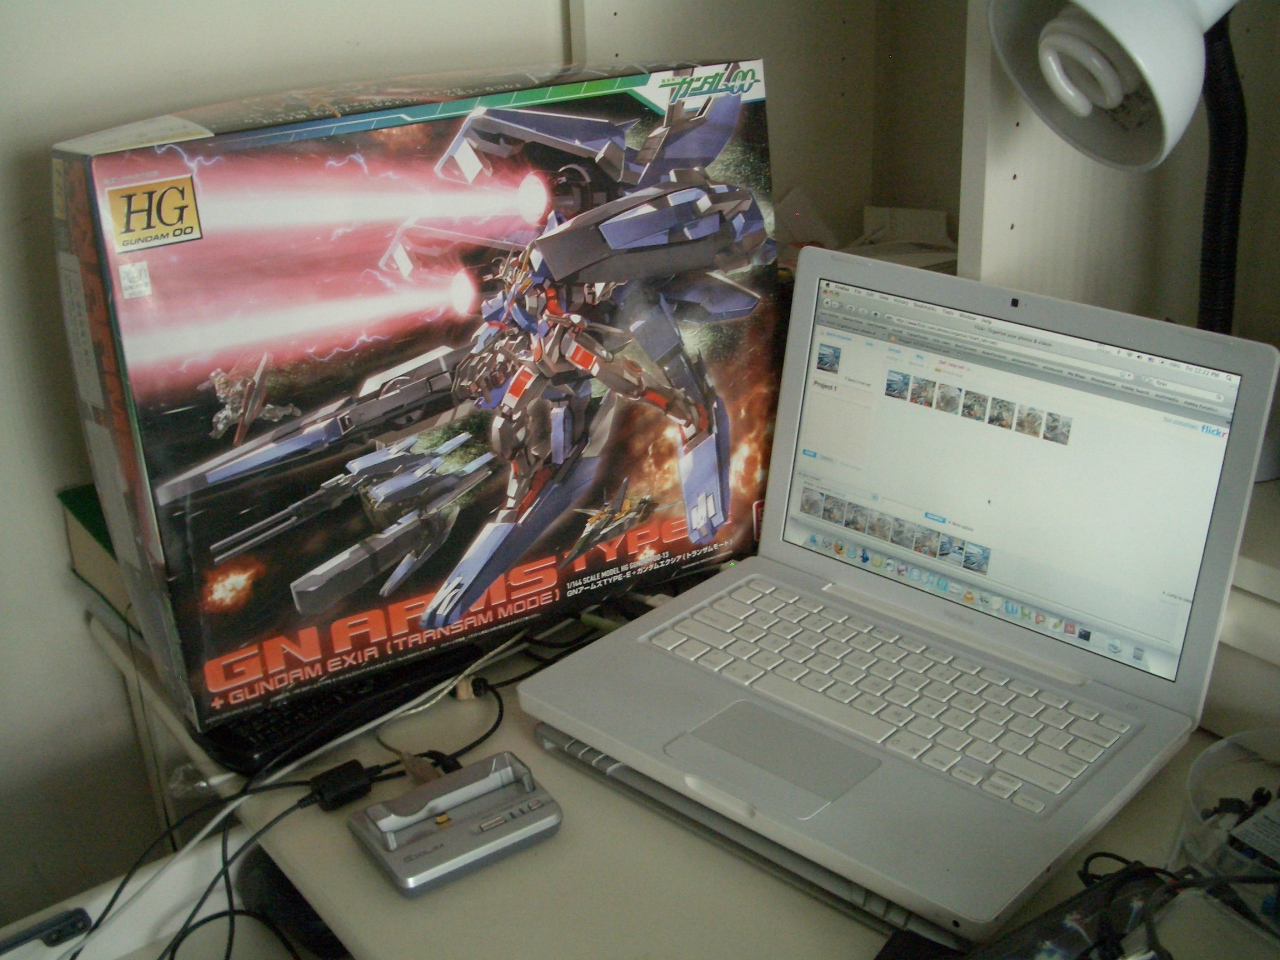
Former Kitchen Table/Model Making Table

note: IT WILL BE CLEANED OFF ONCE I FINISH. As well, I am not eating at the dining table anyway...


So as you can see, you see a lot of tools that I use (and some I haven't used...). Starting with this
Newspaper:
Location

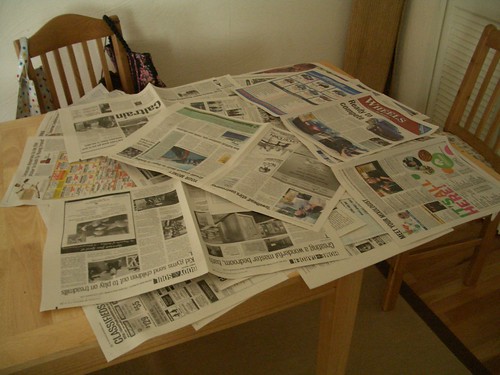
This is just in case you spill paint. Cover the table in layers, b/c the paint does seep through, and it is quite a disaster if it happens (I had that done on my working desk once... I was shocked...)

Box:
box1

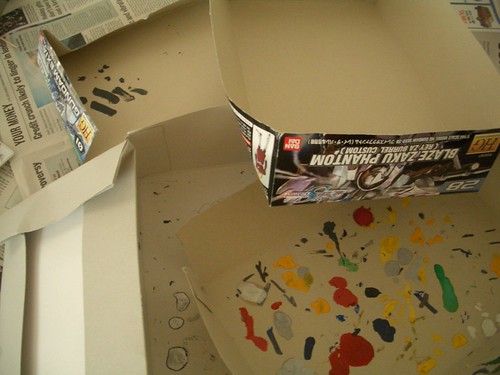
This is to put your painted work in, or use to see what kind of colors show up once they dry. Better than using the news paper b/c you know, it can seep through...

All your cutting essentials:
cutting!

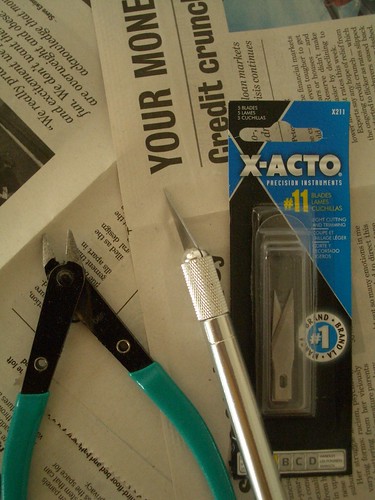
A nipper, to get the parts out of the gate, and a hobby knife. Be careful when using the knife, but I swear, it is one of the better investments I made... As a side note, I used to cut parts out of the gate using nail clippers....

Gluing essential:
cementing!

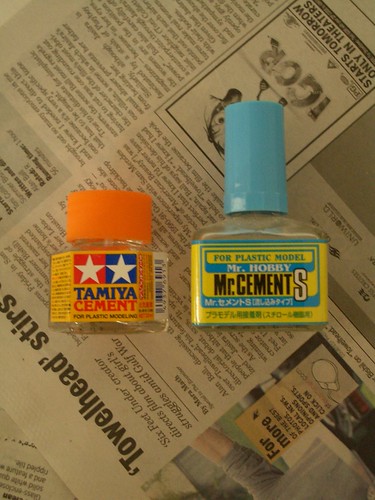
Although all gunpla are snap fit, these are used to get rid of seamlines. I have two different types here...

Sanding essential:
sanding!

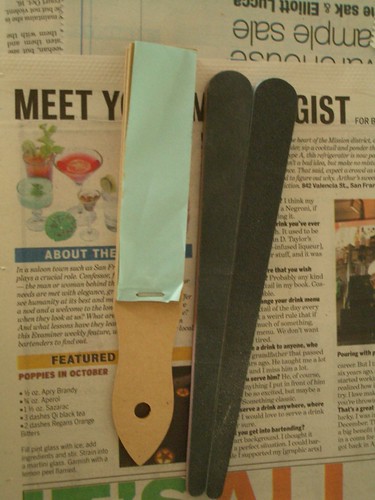
it's just enough to cleanly cut the parts out of the gates with a nipper. You need to smooth down the cut ends at times. It will make your model look better, if you don't have stubs coming out of weird places....

Markers and Sharpie:
Marking!

This include gundam markers and sharpies. You can guess that the marker is for coloring, but what about the sharpie? Recently, one of my Gundam Markers which was for panel lines ran out of ink (and I was shocked...). So I had to find another alternative, and hence the sharpie... Thick or thin, doesn't matter, just outline the panel lines, then use a cutter or an eraser to get rid of the excess. This is a fact...

Eraser:
Erasing!

As stated above, it's to get rid of excess sharpie ink off the kit when doing the panel line.
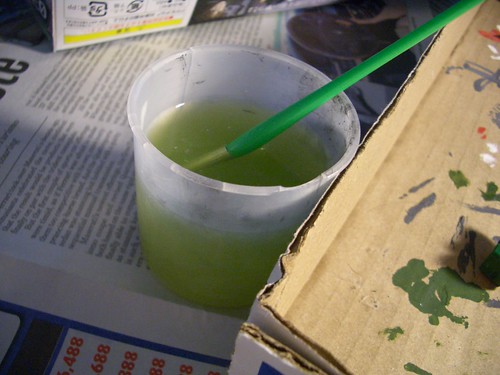
Cotton Swab:
Swabbing!

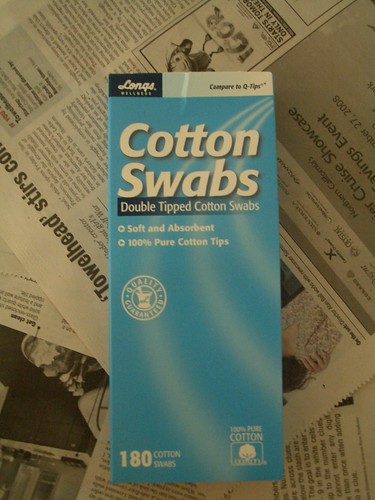
What I used to use to get the excess paint off the panel line. It is now used to mix the paint...

Paint Brush:
Brushing!

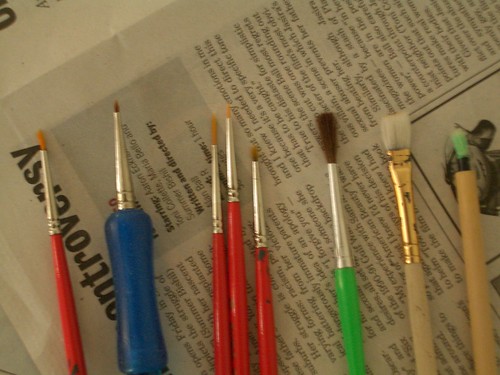
I have no gut to buy an air spray thing, or don't trust myself with the spray paint (meaning, I don't want to die yet...), therefore I stick with good old fashion paint. I am quite nimble with my fingers, but I need a brush that can handle it. Hence I have several very fine pointed brushes. Also, I have gone through tons of these, b/c I don't clean them properly....

Masking Tape:
Taping!

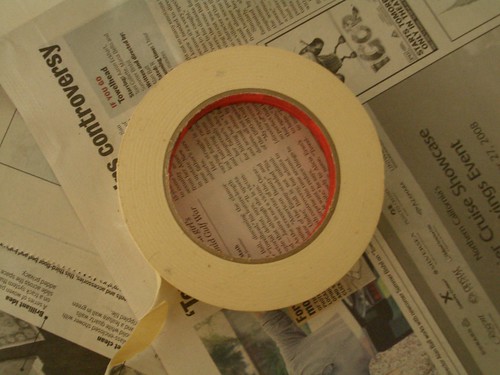
Paint control, enough said.

Paint:
Painting!

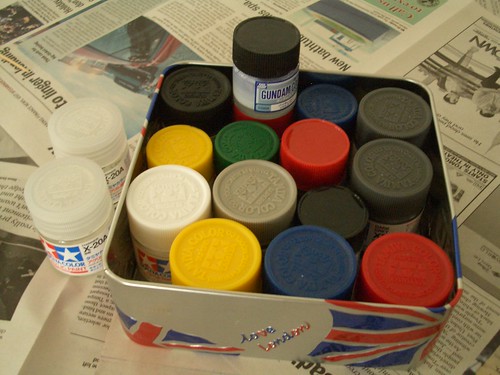
Tamiya paint for the win... And buy flat colors, than one's with gloss...

Putty:
Putty!

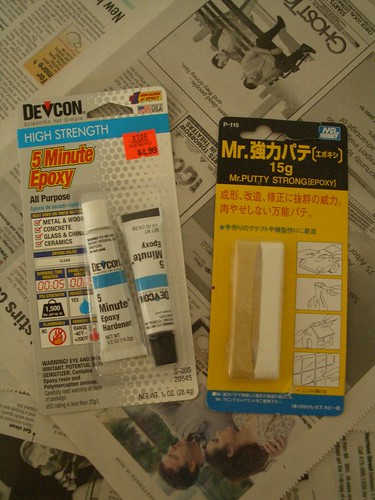
The one thing I have not used, so I am rather scared to use it... used to fill in seamline, if you don't want to handle with cement.


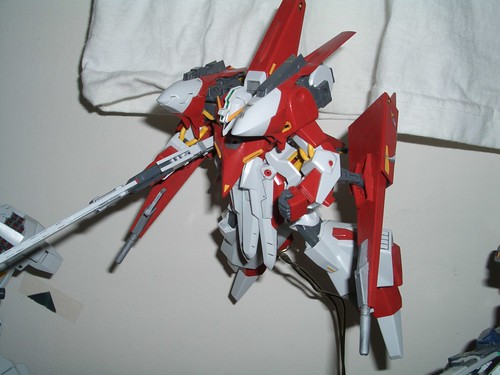
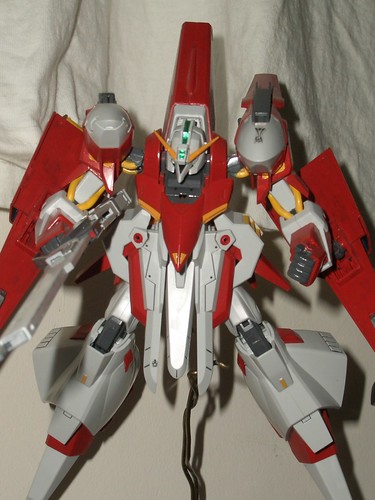
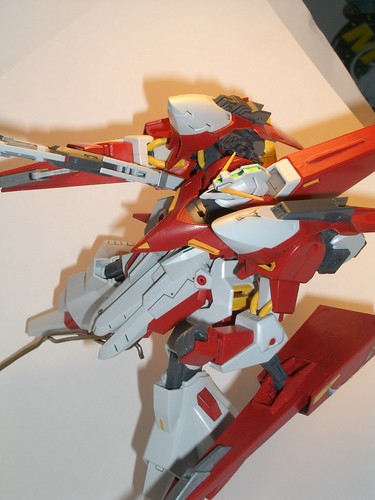
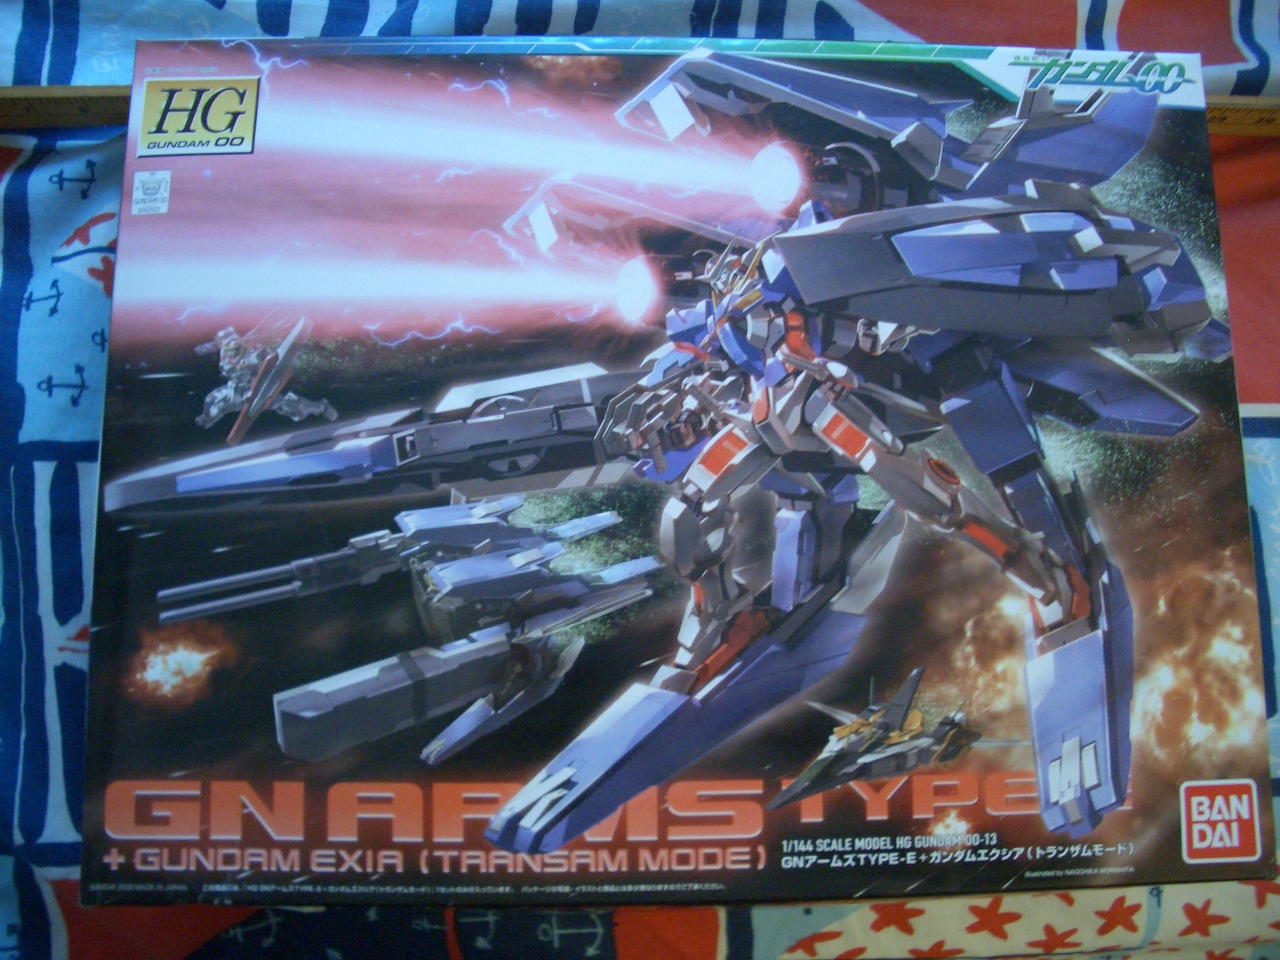
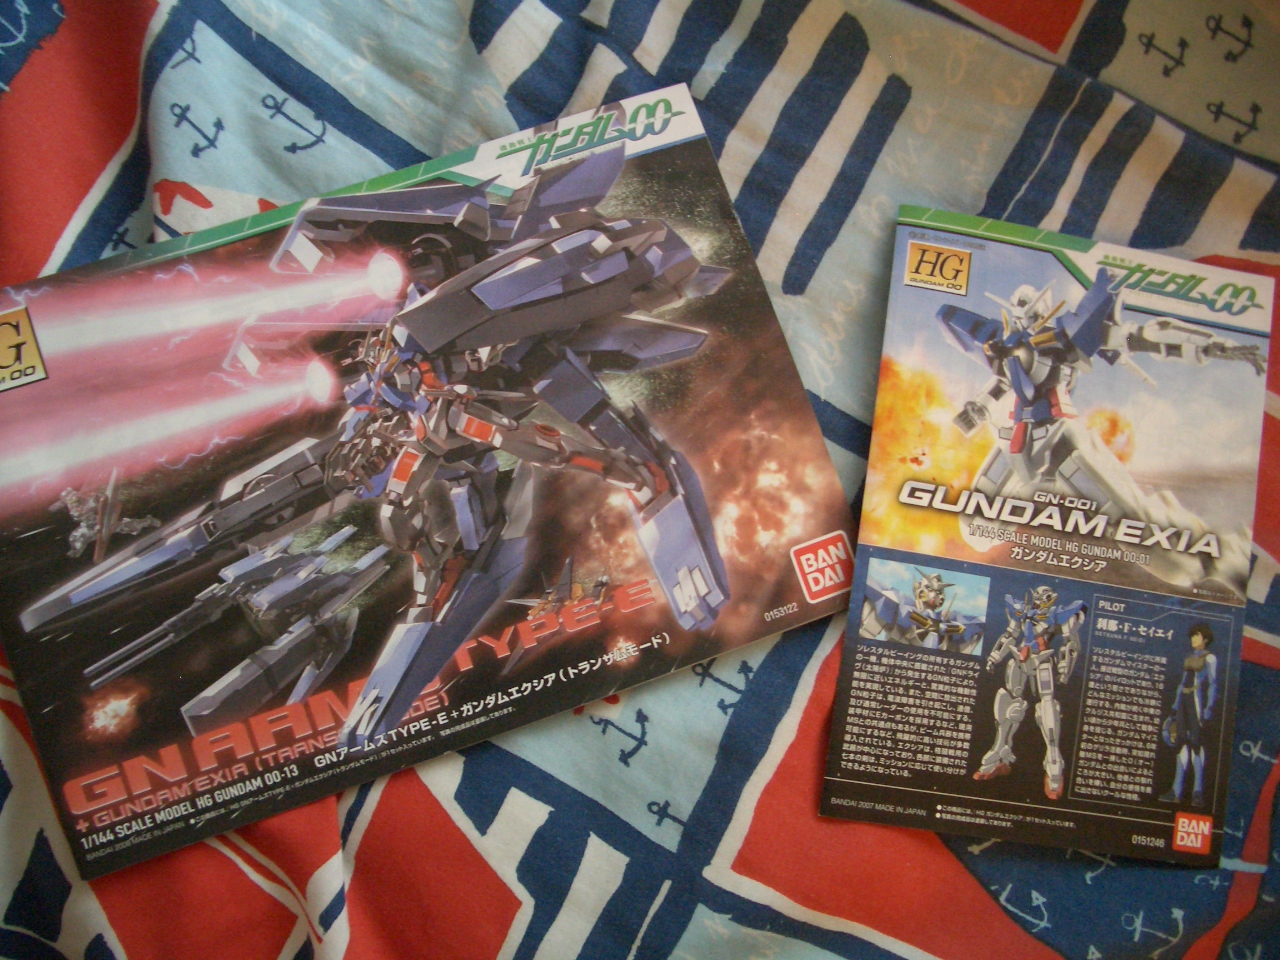
Will start soon... By finishing Dynames... Then probably go on to GN Arms, then Astraea, then Nadleeh... Over Flag is a hold on until later, b/c I couldn't find paint primer to cover the black... White and Red color scheme for it...

Anyway, keep you all posted on my WiP

Tuesday, September 16, 2008

Side Track 1: Having a model stand

Yea, I really need/want to start on my GN Arm, but I still need a bit more tools (basically, looking for primer... First time I will be using it, so a bit scared...)

Anyway, a post I made in Danny Choo.
You know what, there are some times when it's ok to just pose your Gunpla on a shelf. However, units that were meant to fly should have their respected stands... It doesn't matter what you use, the actual action base from Bandai (I am thinking of buying one, but I don't think one is enough. And that's my overall problem...), a stand that comes with the kit, or make one yourself, like the one I did here with a wire coat hangar. i am pretty sure I was endangering my eyes bending the coat hangar though...

=P -As well, one of my lamps broke, so I don't have a great lighting system... Although, I think the way this turned out is rather dashing, if I don't say so myself...


Anyway, more pics of this Gaplant TR-5 Hrairoo I call "Blood Rabbit".
CIMG2923
CIMG2929
CIMG2919

Story Premise: IF-mode of AoZ
Story behind the unit: TTT hires a new Test Pilot from a Newtype Test Facility. One of the Titan's Enhanced Human took a TR-5, and essentially asked it to be painted red, to signify blood, and that she was always blood thirsty (FYI: The pilot is Yandere...).

As a side note, I HATE TAKING PICTURES WITH FLASH ON THIS CAMERA I USE, which is borrowed from my mom, but still...
I hate flash 4
I hate flash 5
I hate flash 1
Arnold Schwarzenegger voice: THE FLASH! THEY DO NOTHING!

Although this one doesn't look bad... But too soft...
I hate flash 2

Iono, maybe it's my picture taking preference... Regardless, hope to start on GN Arms soon....

Friday, August 15, 2008

Project 1: HG 1/144 GN Arms type E+GN-001 Gundam Exia

After some success and failure, I have, and will, show case my WiP (for those not into the lingo, "Work in Progress") for the HG Gundam 00-13, GN Arms Type E+GN-001 Gundam Exia . If you are looking for one, here is your chance to take a gander at what you will see. Reminder, this is the first time I am using a blog site to showcase my work in public, as well as using Flickr. So be aware (my grammar may suck, and my modeling skill is near noob-ish. SORRY!)

How I Acquired the Gunpla:
Ebay; seller name Toyza!
This kit, at the time I bought it, was a STEAL! Honestly... Normally, online, you will have to pay at least $60 for the kit, and some more for shipping. At my local Japan Town, I saw it for $80~$90. But this ebay seller sold it for $60 total, including shipping. Don't get me wrong, but I feel I save a crap load of money.

Anyway, the box art:
HG 1/144 GN Arms box

And to really show how big it is....
This is how big it is...

Even the friggin model guide is huge....
Look how big the model guide is...

And the amount of parts I get....
OMG, that's a lot of partsBox full o' parts 1Box full o' parts 2

So yea... I am going to have fun (ha...haha...ha....) building this model, trying to "paint" it, and showing it to you all... I am either going to get a boo, a shrug, or a yippie... By the way...

a.) I am a mac user... Don't laugh
b.) That is my bed sheets... I haven't bought new ones since I was in middle school...

As well, as an added bonus, this is how many model guides I have for gunplas I built over the ages...
Extra 1: How many model guides do I have? 1
Most of these I broke, due to my youth, or it fell off my shelf. As you can see, I made a big transition from SD to HG... I mean, I still think SD gundams are cute... I mean, look at mini Exia!!!!
Mini Exia!!!!  Cute....

But yea... I don't know when I made my shift...


ANYWAY, after digressing A LOT, I don't know when I will start my build, due to work and all, but I will start some time soon... hopefully....

Rating:
Box Art: 10/10
Overall Model:
Complexity:

Amount of time spent: 0 days, 0 hours, 0 minutes... "The armed intervention, with the mobile suits known as Gundam, will soon start..." Hopefully =P